Designing 3D printed enclosures
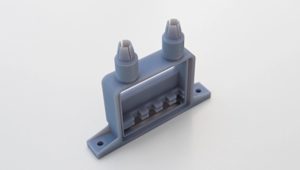
The design of enclosures for 3D printing typically follows 2 main steps:
1. Enclosure planning and component measurement
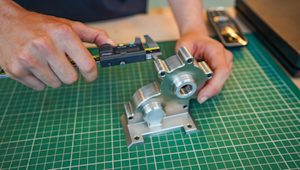
It can be useful to 3D model the internal enclosure components along with the enclosure to allow for easy clearance checks and to help determine the optimal component positions.
2. Designing the structure
While tolerance and clearance recommendations will vary with printer technology and calibration the bullet points below offer a set of design guideline to use:
Wall thickness
A minimum wall thickness of 2 mm is recommended for all enclosure walls.
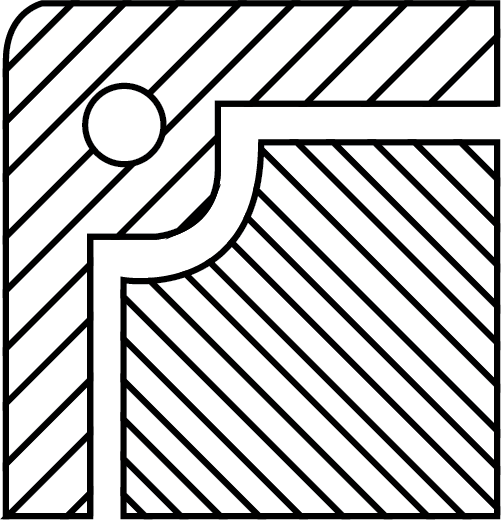
Add radii/fillets to corners
Radii or fillets help to reduce stress concentrations at corner and edges and also make parts easier to 3D print. Even a small radius can make a big difference.
Clearance holes
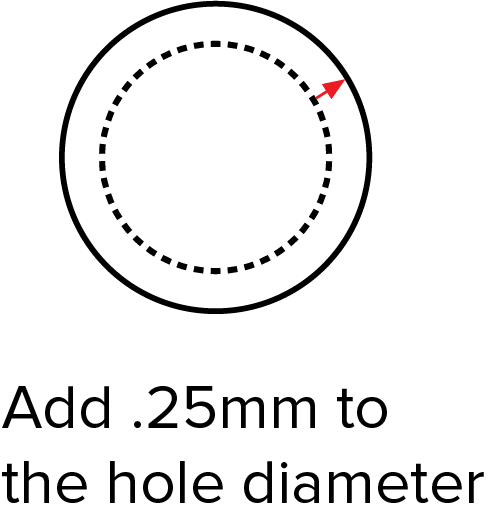
Add 0.25 mm to the diameter of screw and fastener clearance holes. For more accurate clearance holes, drill the holes after printing.
Self taping holes
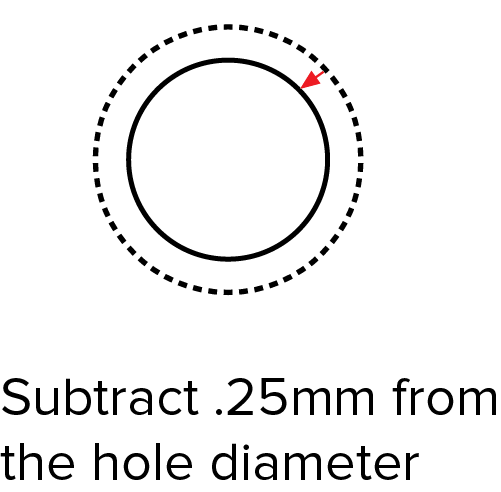
Subtract 0.25 mm from the diameter of holes if you are wanting the screw or fastener to bite into the case. For a range of fasteners options refer to
this article.
Port clearance
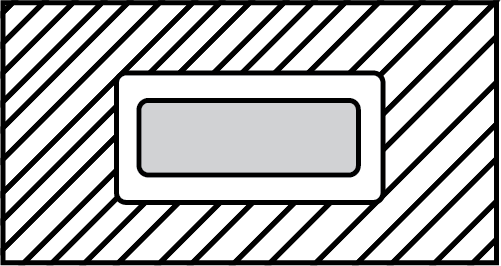
For all ports or plugs allow 2 mm clearance (1mm each side). The input port can also be super glued into place for a secure connection.
Add lugs
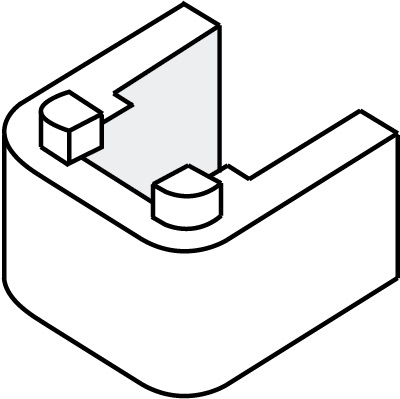
Add lugs, cut outs and lips to assist with assembly/disassembly and alignment if the enclosure with multiple parts (base & lid). These features are very simple to include in a design and can greatly increase the strength of your assembled enclosure. Lugs should be a minimum of 5mm in width.
Ribs and gussets
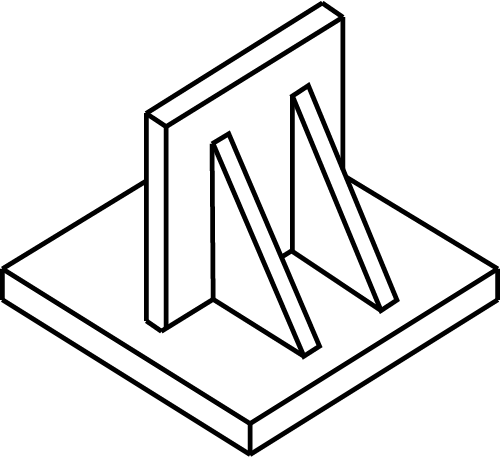
While ribs and gussets are critical design features of injection molding and not essential for 3D printing their inclusion can help reduce and distribute stresses throughout the part and improve rigidity. To save on material, ribs and gussets can be designed to 75-80% of wall thickness.
Bosses
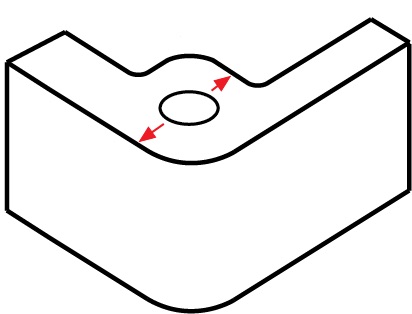
Include bosses around holes in locations where threaded fasteners will be used to reduce the likelihood of bulging, distortion and potential fracture. A minimum of 1 hole diameter for the wall thickness around the hole is a good starting point (e.g. if the hole is for an M5 screw include a minimum 5mm of wall thickness around the hole).
Uniform wall thickness
If your enclosure design is eventually going to be injection molded remember to use uniform wall thickness in your design. For 3D printing process (particularly SLS and SLA) this is good design practice.
